I was recently inspired by this recipe from The Charmed Kitchen and made my own version with a few small adjustments. Here’s my walkthrough of the recipe.
Ingredients:
2 1/2 cups whole wheat flour
2 tsp salt
1/2 packet of dry active yeast
1/8 cup almond milk
3/4 cup water
2 Tbsp butter
2 Tbsp raw sugar
1 egg
1/2 cup rolled oats (divided)
1 Tbsp fresh garden herbs
The original recipe calls for molasses and a larger quantity of the ingredients because it’s a double loaf batch. It also instructs the baker to mix the dry yeast into the flour and salt. I prefer to mix it into the wet ingredients first to allow it to bloom, because salt will inhibit yeast.
Steps:
First I warmed up my liquid ingredients over the stove, melting in the butter and sugar. I removed it from the heat once the ingredients were combined and let it cool until it felt comfortable to touch, just a little warmer than body temperature (yeast loves to be about 100 degrees Fahrenheit).
I added the yeast and dissolved it into the liquid.
I mixed the flour and salt in a large bowl.
After the yeast starts to make the mixture look cloudy on the top I poured it into the flour and begin to combine it with a spatula. I added in my egg and half my oats.
I floured my countertop and turned out the dough for kneading. It needs to be worked for about 5 minutes, stretching and tucking it back in on itself.
After the dough sticks to itself instead of to me or the counter, it’s ready to be transferred. I placed it in an oiled bowl, covered it with a damp dishcloth, and set the bowl in a warm spot of the kitchen.
After proofing for about 45 minutes it doubled in size. I kneaded it again for about five minutes and added in the rest of my oats, plus the cut herbs from my garden.
Then I transferred my dough to an oiled loaf pan covered it and let it proof for another 30 minutes. I then stretched the dough to ensure it was filling the loaf shape and let it rest for 20 minutes.
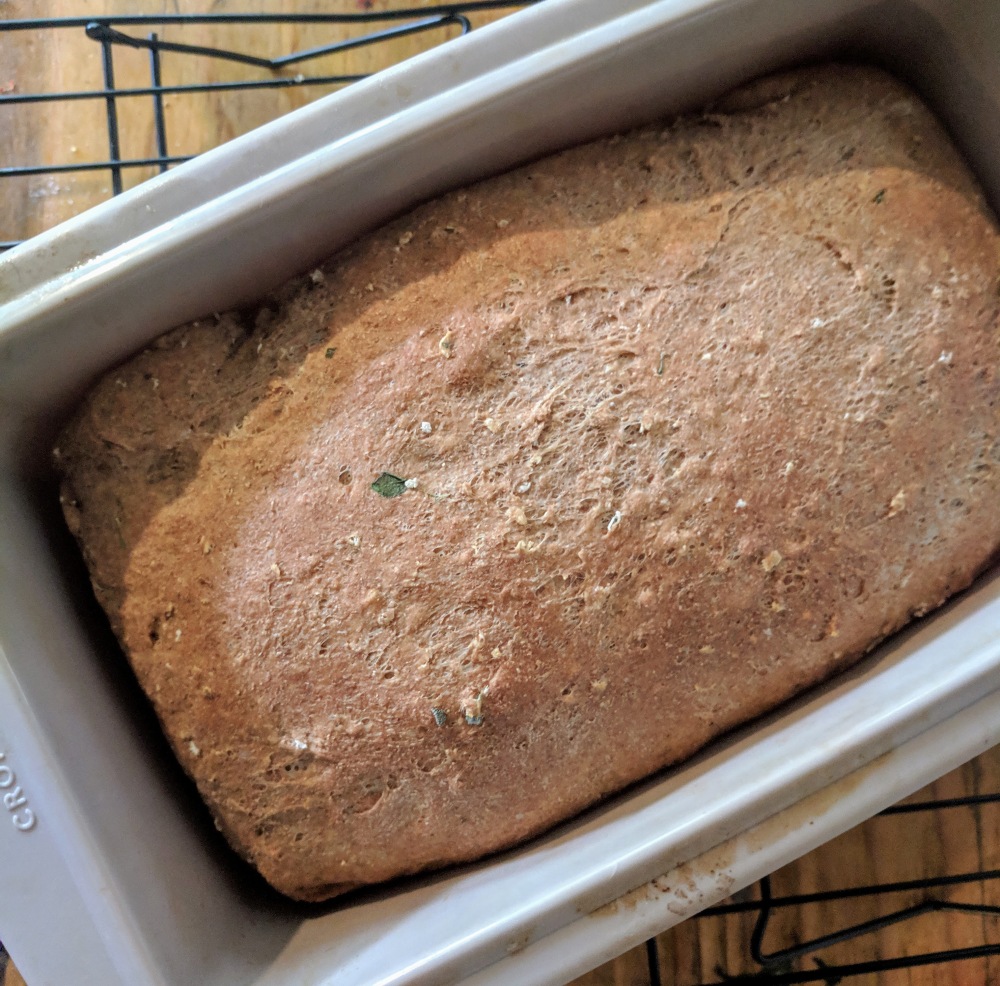
I baked it at 350 for 35 minutes and then let it cool.
Bread sounds hollow when you tap on the bottom, that’s how you can be certain it’s ready! This holds well for bread and toast. It will go hard faster than commercial bread, but if it starts drying out it can be used for homemade croutons or as the base of a strata (like a dried bread quiche).
